The screen above is pretty self-explanatory. As you see, you can change the logo of the contact form and also the confirmation message that appears after submitting the form.
To customize the rest of the design of the form, click the "Design" sub-menu item
If you chose the 'Fields' sub-menu item of 'Contact form' setting option when editing a chat button, you will see a similar screen like the one below:
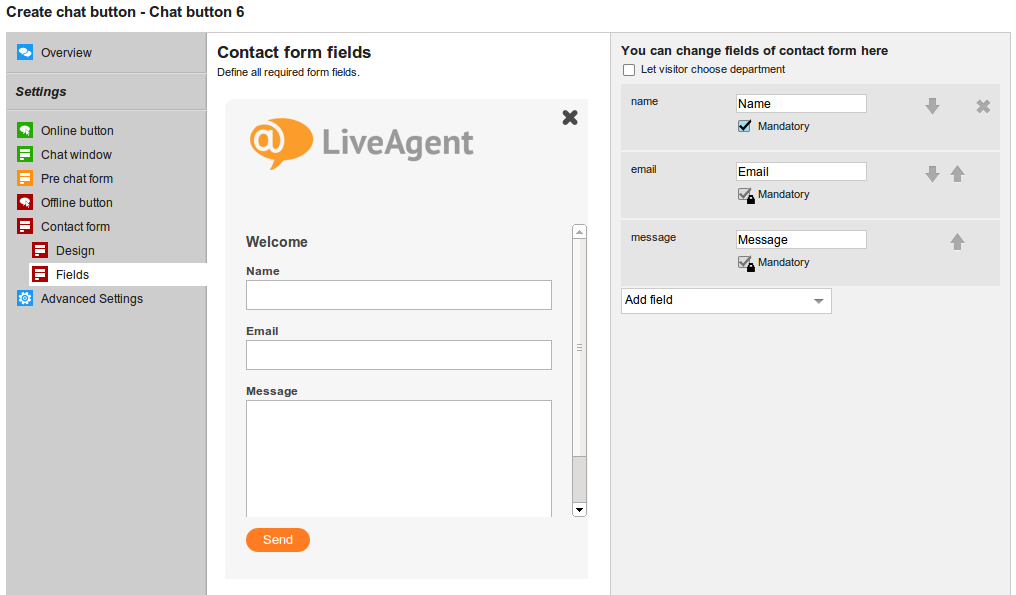
You can add/remove fields or make them mandatory. You can also choose the type of the field - available options are: Textbox, Listbox, Checkbox, CheckboxGroup
Ultimately you can even let the visitor to choose the department to which the submitted ticket will be assigned if you check in the "Let visitor choose department" option